b. Second Partition use for Swap space.the disk space is 2 x Your Memory/RAM Capacity and the file system type is swap.
The minimum requirements can find at www.distrowatch.com
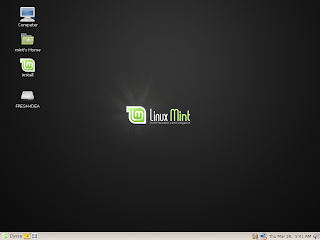
1. Boot from your LinuxMint 5 CD's
2. Click the install icon at the desktop, and the wizard will guide you during the installation
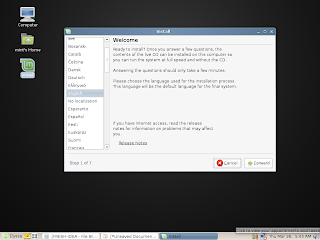
3. At the first step of the installation, we have to choose the languange that will we use during the installation process. Just choose the default option(English) and click forward to continue the installation
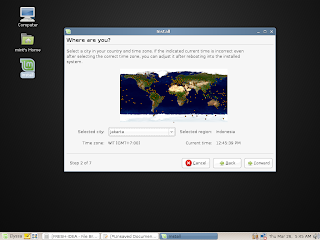
4. Then we need to setting the time zone, city where we live in. In this case I choose Jakarta, cause I live in Indonesia, click Forward to continue
5. The next step choose your keyboard layout, just left/passed it and click Forward to continue

6. Then the installer will setting up the partitioner
7. This step is the important step, so you must carefully. In this step we have to setup the disk space that will be used for installation. For the efficiency reason, choose "Manual" option and click Forward.
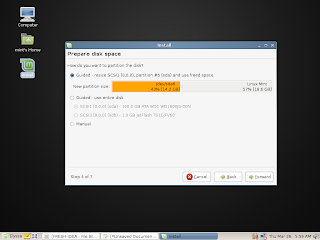
8. Choose free space disk that will be used, then click edit partition (Ex: /dev/sda8/ ). Check at "format the partition", at the "Mount Point" choose "/" cause we will use the partition as linux native (or the system).also do that for configuring SWAP partition, the different step just at "use as" you should choose "swap area". click OK to finish
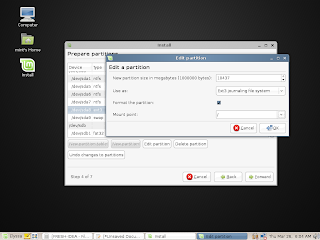
9. Click Forward for begin partitioning the disk and installation
10. at the next step enter your login name, desktop name, and your password for login. Click Forward to finished the installation. Reboot the computer, remove CD from the tray. Enjoy Linux Mint and keep open source !!
Download full tutorial in pdf format :


No comments:
Post a Comment